SESSION
Serverless Enables Life-saving Applications for Human Health
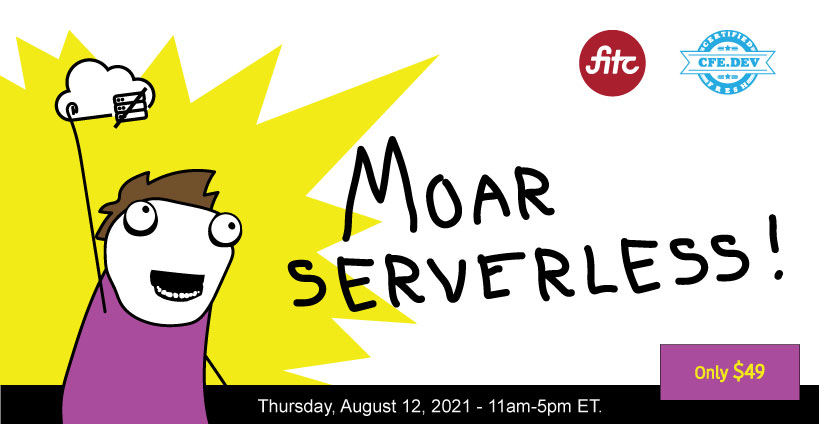
Moar Serverless is a 1-day conference exploring how real-world applications are built leveraging serverless.
 Luis Ball
&
Luis Ball
&
When you share a link to a site and see a preview image, that’s an OG image. There are different ways of creating these images to optimize reach, share-ability, and engagement. You can create these images statically, e.g. at build time, but we’ll demo how to go beyond statically created previews by creating dynamic OG images that update as frequently as you need them to. Join me to see how fun and easy it is to create OG images for yourself (no server needed)!
Luis is a Senior Software Engineer at imgix. Born and raised in Caracas, Venezuela, he studied Technical Writing at Carnegie Mellon University, Pittsburgh. He loves Padres baseball and going to the Zoo with his kids.
Luis Ball 0:11
You’re probably already familiar with OG or Open Graph images, but if you’re not, let’s dive in. So what is an OG image? Well, an OG image looks a little bit like this. They’re the things that customers see before they visit your site when somebody shares a URL to your page on iMessage or Twitter or Facebook. So here’s some examples. We’ve got one from stripe. It’s just a stripe logo with some metadata, you know, the URL, this title and some description about the page. We’ve got one from Webflow, and we’ve got one from GitHub, and this one you’ve probably seen before, it’s got the PR number, the repo, the diff, it’s got a picture of the user. There’s a lot going on in that one, and I really like it. Now. Why do these ones make a difference? Why should we care? Because they really drive conversions. This article goes into it from the Social Media Lab about why we should care. Essentially, what we found is that good OG images drive engagement. You know, 100% 50% more retweets, they drive things like 35% boost in engagements with favoriteing. And so this is why we should care about them. And what do people do that generate OG images that are very successful and very effective? Well, there’s a few ways to generate them, some good, some not so good, and we’ll dive in and take a look at all of them. Let’s get started with the way that these things have typically been done in the past. And post hog has a great article about this. Essentially, they talk about, you know, what did they used to do with OG images on their blog, and what they used to do in the before times, as they describe it, is, they would have somebody go and create an asset for every page and make sure they would look good across all kinds of viewports and whatnot. But this got very, very taxing their designer, as I said here, would have to work 24/7 whenever they published a blog post, so they wanted to make them dynamic. And what they went ahead and did is they used puppeteer, which is a headless browser, to go and actually get a screenshot of their website at build time, which is what they cover here. And this worked really well for them, but it does have some drawbacks, and one of them is that your OG image is only as recent as your latest build. So if you have a lot a lot of dynamic data, like that GitHub example that we were just looking at here, then it gets a little difficult to do that at build time. And so what people moved to was doing something like what SST does, where they have this nine step process that allows you to create a serverless function, to spin up that puppeteer, that headless browser, visit the page, take the screenshot, save that screenshot to a cache somewhere, and then serve the screenshot the latest one anytime the route to your image is requested. And now, not only was this a lot to maintain, a lot of processes to have to put into place, but it got to be expensive because a serverless function had to run anytime the page needed a new OG image, and so that was particularly problematic, because you needed to run a browser in order to get this image. So people gravitated to a different solution, and this is one that didn’t need a browser, and that’s vercel’s og image generation library. And what this does is it gives you an image response from HTML without needing a browser, and it uses a Satori library under the hood. This, as vercel goes into their blog post a little bit here, makes things easier and more affordable and faster. You’re not spinning up a browser, so your serverless function can be cold, started faster, it can return a response within four seconds, which means you have less failure rates. But also is great dx, because you’re writing stuff in HTML and CSS, and this seems like a slam dunk, and we’ll dive into it. Take a look, and they will talk about why you may not want to do it this way in just a second. So what I’ve gone and done is I’ve cloned the repository for a vercel starter for a blog, and I’ve made a small adjustment. I’ve made them generate metadata function asynchronous, so that anytime somebody visits a blog post, the metadata will be generated that very first time. Then we’re going to take a look now at how the OG image for this page is being generated. We have this OG image it’s being set in our metadata. How is this happening? So. The way this works using vercel’s dynamic OG image library, is you typically want to create an API route that uses the Library to generate an image response from HTML. In this case, this API route will read the title from the search params and then interpolate it into some HTML and give us back an image response, and let’s take a look at what that looks like. So we’ll go to the page here. Here’s an article from that block starter, and we’re going to inspect it and take a look at the OG image property. So here we can here it is. We’ll copy this over and paste it, and now we can see the OG image that got generated. Now this works really well if you have to use HTML and CSS to make your OG images, but it does have some drawbacks. Let’s take a look at just one. So bear in mind that every time we hit this URL, we are starting a serverless function. So what would happen if I wanted to track the number of views that this blog post was generating over time, and then display that in my OG image again, all just trying to drive engagement on my socials. So we’re going to go ahead and do that. We’re going to track views. We’re going to get all the views from all our posts, filter by the post slug, and then we’re going to add that to our path in our route, so we’ll save this, and then in our route, we’re going to go ahead and pull the views from the URL search params and then display them somewhere. So now we go back to our page and we inspect it, we can see that our tag is updated, and when we go ahead and paste that in, we can see the view count right over here. Update. Now, this is really neat, because this will happen in real time. So if we close this, refresh the page, go back to our OG image, tag, copy and paste, we should see an updated view count, and now that works. Well, seems fast enough, but there’s a problem. The problem is that anytime the view count updates, the OG image will need to update, which means we’ll have the cache bust, which means we’ll run the server function again. And now we’re starting to run into a lot of headaches, not just with caching, but also potentially with cost. So how can we mitigate this? Well, one of the things we could do is to just not use a serverless function for this. We are already generating dynamic data here. What if we could use it in our image without having to render our image in a serverless function? So this is where using Imagex comes in, we’re going to pull in an image image URL to our OG attribute, instead of a serverless function. And how is this working? Well, I have a little helper function here that is just going to build a URL string for me. The way that looks is we instantiate a URL builder library. It’s called JS core images JS core, and that will make it easy for me to use some images parameters to get appended to my image URL. So here I’m giving it a width, height cropping, and what that looks like is when I go ahead and inspect the OG tag and paste that in, you can see that all those parameters are being added as search parameters to my URL, and we can take a look at the image that’s being rendered as my OG image now. Now we haven’t really copied over all the functionality, because we need a title and description and the view count, so let’s add that stuff in first. Let’s just start with the title. We’re going to use the mark 64 parameter to superimpose a URL of just the title text as an image onto our base layer. So the mark 64 parameter will render in the image of the title text, and then superimpose that on our base image. The way that works is we use the text endpoint, we give it the title text that we want. We style it a little bit, and this will give us a URL for that image. Then that’s the URL we set on the mark 64 parameter, and we just position it so when we save our OG type, tag will update, and now we have our title text in our image. Now what we need is to bring in the description. So this works the exact same way, using the exact same parameter. This time, we have body text and a little bit of different styling. So when we copy and paste this in, we’ll see our title and our body text in our OG image. So so far so good. We’ve replicated a lot of the functionality again, without using a serverless function, what we’re missing is the views. So let’s go ahead and bring those in. We’ll use the text parameter, which will add text to our base base image, and we’ll just put views next to views, and then it’ll style it a little bit, and we’ll save and now I’m.
Moar Serverless is a 1-day conference exploring how real-world applications are built leveraging serverless.
Ishan Anand will divulge the secrets behind how the LLM magic works using just a spreadsheet interface and some JavaScript and web components.
PixelPalooza will explore all the ways we, as developers, can leverage media like images, video, audio and documents across our sites and applications.
PixelPalooza will explore all the ways we, as developers, can leverage media like images, video, audio and documents across our sites and applications.
PixelPalooza will explore all the ways we, as developers, can leverage media like images, video, audio and documents across our sites and applications.